How to paint furniture with Annie Sloan Chalk Paint™
Your step by step guide
Step into the world of home transformation with our beginners guide to painting furniture with Annie Sloan chalk paint. Discover the art of revitalizing your space through the tactile beauty of chalk paint, as we guide you through the process of upcycling and turning old into new.
Uncover expert tips, techniques, and inspiration to infuse your furniture with a touch of timeless elegance. Whether you’re a seasoned upcycler, a DIY enthusiast or a first-time beginner painter, our insightful guide is your key to achieving a chic and personalised look.
Painting with Chalk paint the essential tools
Essential Tools
To embark on the exciting journey of painting and upcycling furniture, a few essential tools are indispensable.
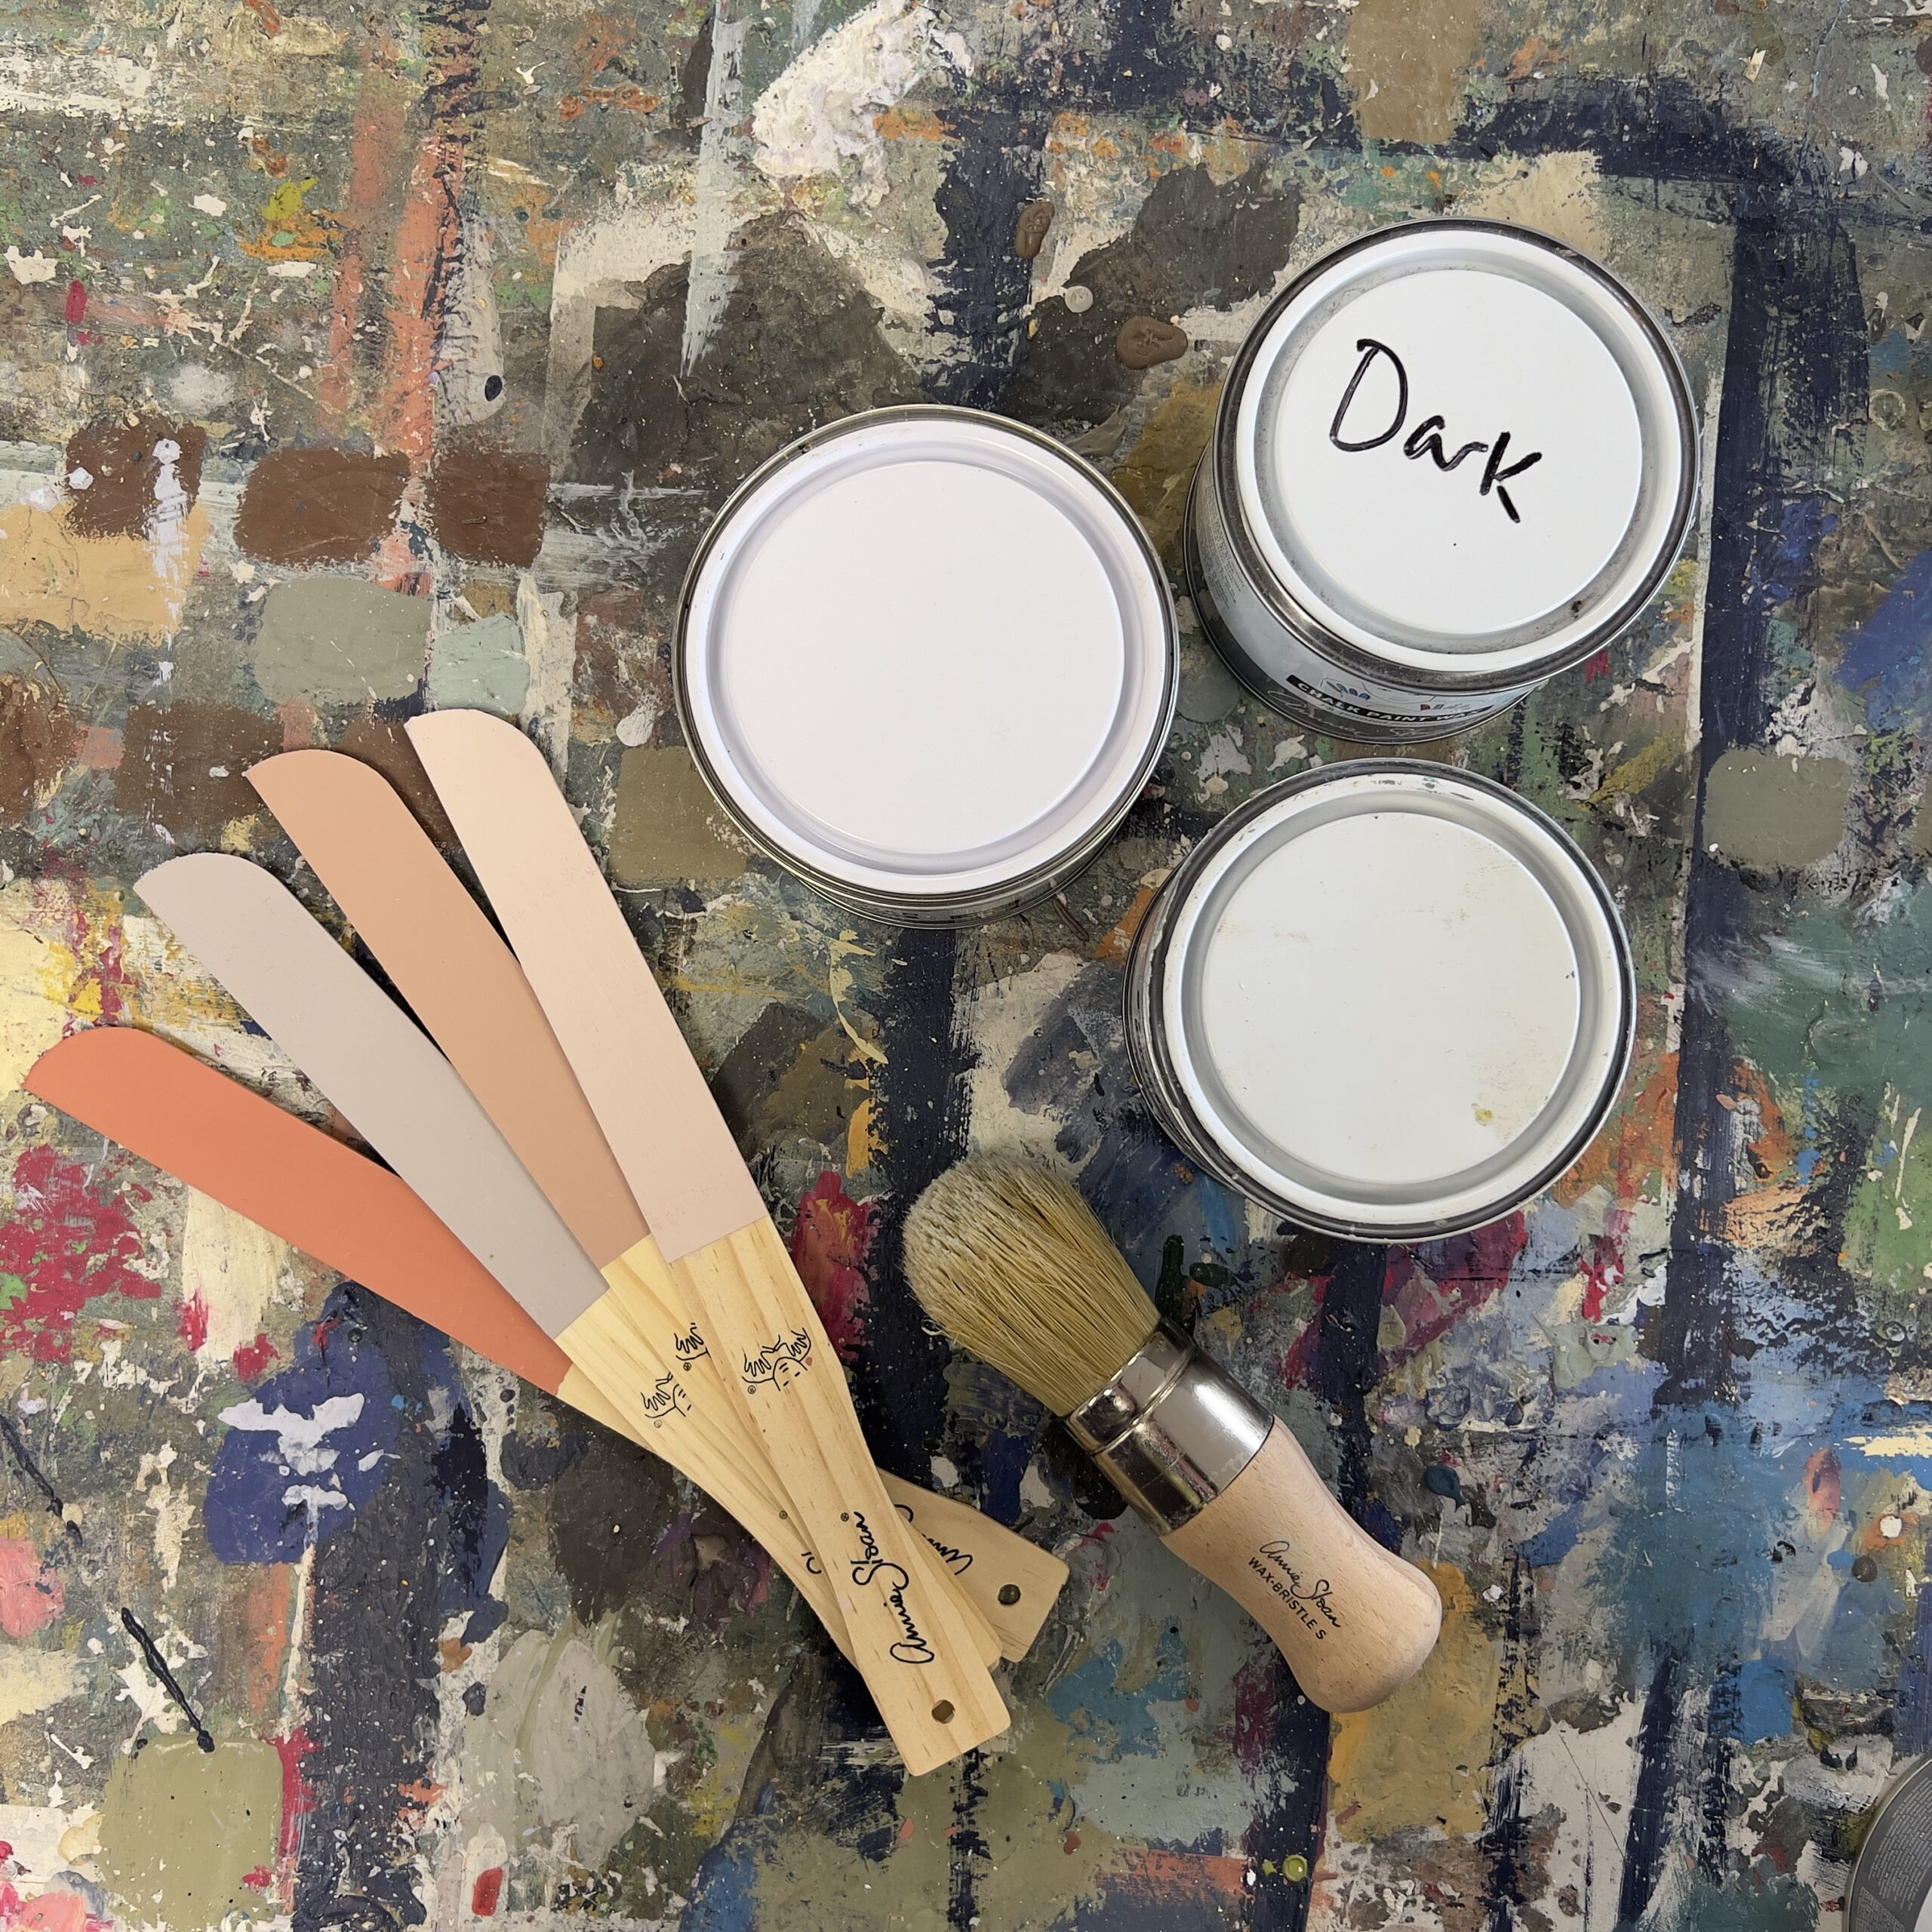
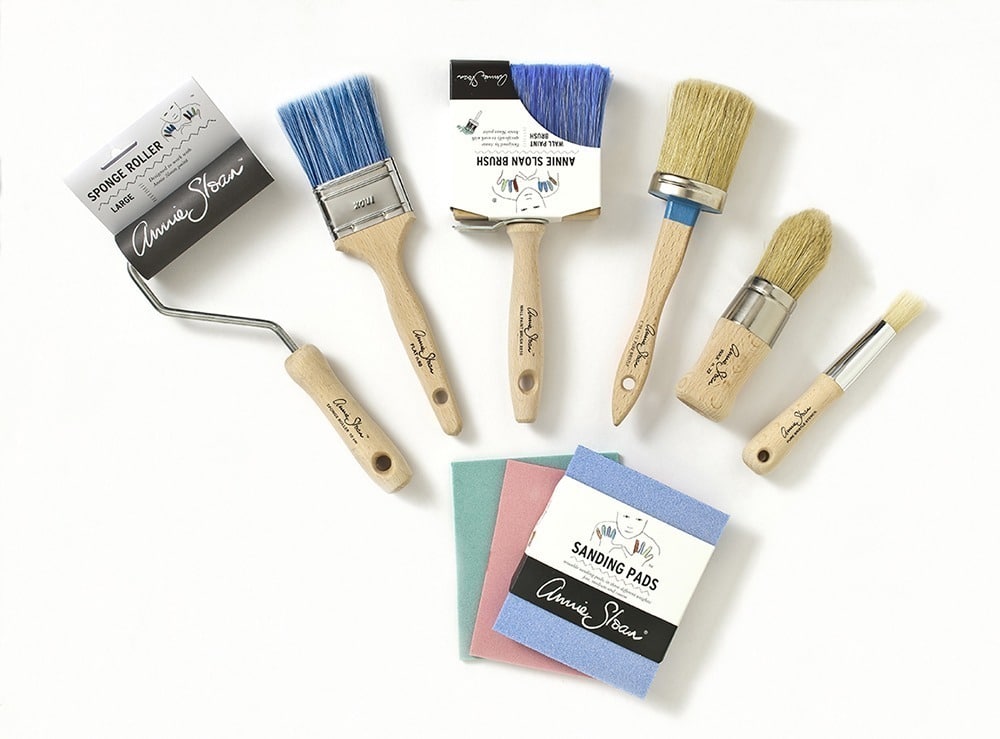
Start with your preferred colours to transform the piece. Invest in good paint brushes, including a flat brush for broad strokes and a smaller one for intricate details. Sandpaper in varying grits is crucial for smoothing surfaces and achieving a distressed look if desired.
A drop cloth or newspaper will protect your workspace from paint splatters. Don’t forget painter’s tape for crisp lines, and a clean, lint-free cloth for wiping away dust or excess paint.
Finally, consider a sealant or wax to protect the finished piece and ensure its longevity. With these tools in hand, you’re ready to breathe new life into your furniture and unleash your creativity.
How to prepare your furniture for painting
Furniture preparation
Is Chalk Paint™ truly no-prep? Well yes is the short answer but like everything there are exceptions to the rule! So when and how do you know to prep?
Ordinarily, most wood furniture won’t need any prep other than a good clean. You can use a damp cloth, soapy water or sugar soap but avoid any harsh chemicals. Ensuring your surface is clean is particularly important for kitchen cabinets where you’ll find grease residue from cooking that will affect the finish.
For vintage furniture, especially from the 1930s or ’40s, also untreated pine, be mindful of potential bleed-through. As Chalk Paint™ adheres it can draw out oil stains or wood tannins, even if they’re not initially visible.
In most instances you don’t have to worry about sanding or priming first. You can get straight into the fun bit! Chalk Paint™ has incredible sticking power and will go onto almost any surface. The only exception is if you’re dealing with a particularly shiny surface, such as laminate. A light sanding here will ensure the paint has a textured surface to adhere to.
Some people prefer sanding for a smoother finish, especially if working with a damaged or uneven surface. If you’re wanting your painted look to be sleek and modern when finished sanding first might be an idea. If aiming for a texture or a distressed finish, then skipping sanding is fine. If you are looking for a more in-depth guide to furniture preparation check out our step by step guide here.
- Prepare Your Workspace: Set up a well-ventilated area with a drop cloth, old newspaper or an old sheet to go underneath your piece of furniture to protect any surfaces. Gather all the necessary tools, including chalk paint, brushes, sandpaper, and a clean cloth.
- Clean the Furniture: Ensure the surface is free of debris, dust, and grease. Wipe down the furniture with a damp cloth to create a clean canvas for painting.
- Remove any hardware: Ensure all hardware is removed such as handles, knobs or hinges from your furniture if possible.
- No Priming Needed: One of the advantages of chalk paint is that it typically doesn’t require priming. Save time by skipping this step and proceed to the painting process.
- Stir your chose Chalk Paint: Thoroughly stir the chalk paint to achieve a consistent texture. You can use a stir stick ort anything else you have to hand. This ensures even color distribution and optimal results.
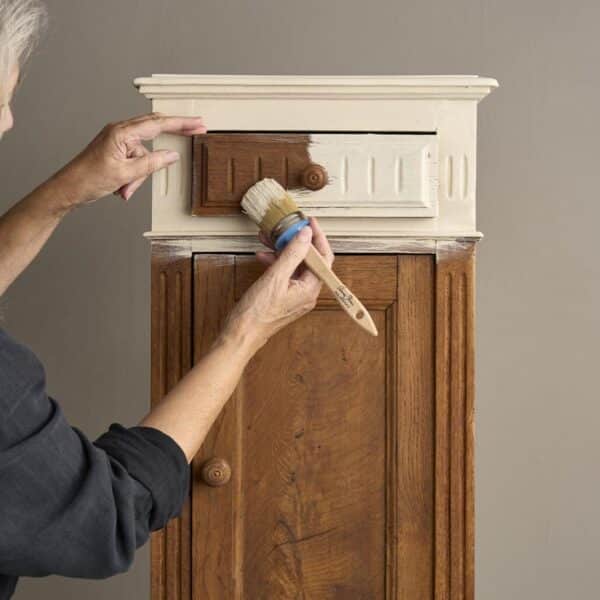
- Apply the First Coat: Using a chalk paint brush apply the first coat of chalk paint. Work in even strokes, moving the brush in every direction covering the entire surface. Allow the paint to dry completely before applying additional coats. Depending on the climate, this could take 1-3 hours.
- Sand for Distressing (Optional): If you desire a distressed look, lightly sand specific areas after the first coat dries. This step adds character and texture to the finished piece.
- Apply Additional Coats: Depending on your desired finish, apply additional coats of chalk paint, allowing each layer to dry completely before proceeding. Multiple thin coats often yield the best results unless you are wanting to create one of the more textured paint effects. If so you can find out more information on how that can be achieved in our textured paint guide.
- Seal the Paint: To enhance durability, apply a wax or sealant once the final coat is dry. This step protects the painted surface and provides a professional finish. Applying Chalk Paint™ Wax is easy you do it in the same manner as the paint. Use a brush or lint-free cloth to apply in all directions. Work in sections removing any excess with a lint-free cloth as you go. You want to make sure every bit of paintwork has been waxed.
- And that’s it! You can use the piece of furniture as soon as the wax is touch dry, but please note it will take up to 2 weeks to reach its full hardness (known as the ‘curing period’). During this time, take extra care with the piece.
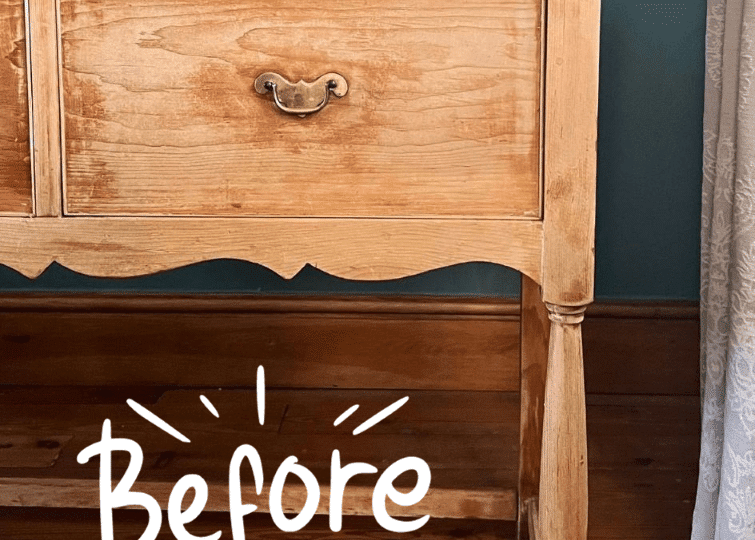
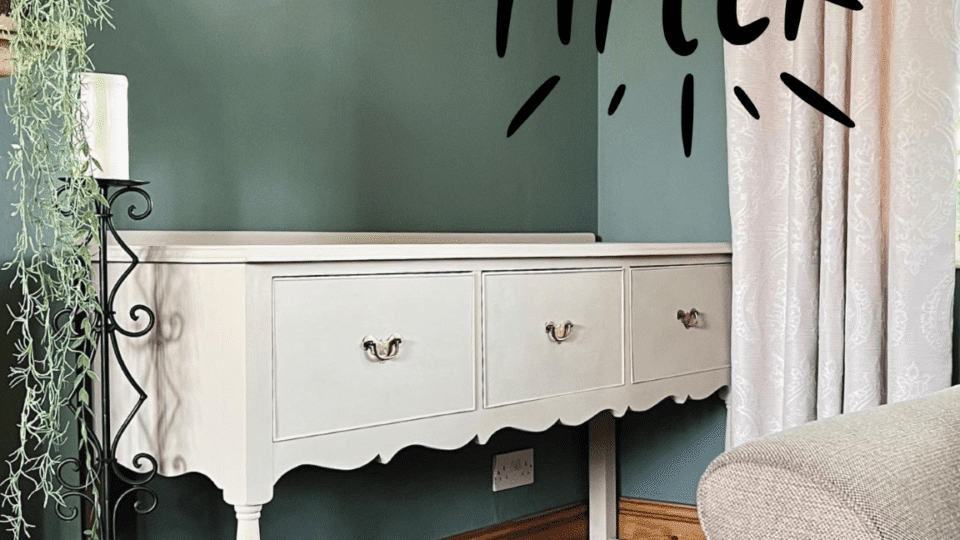
Before and After pictures
